
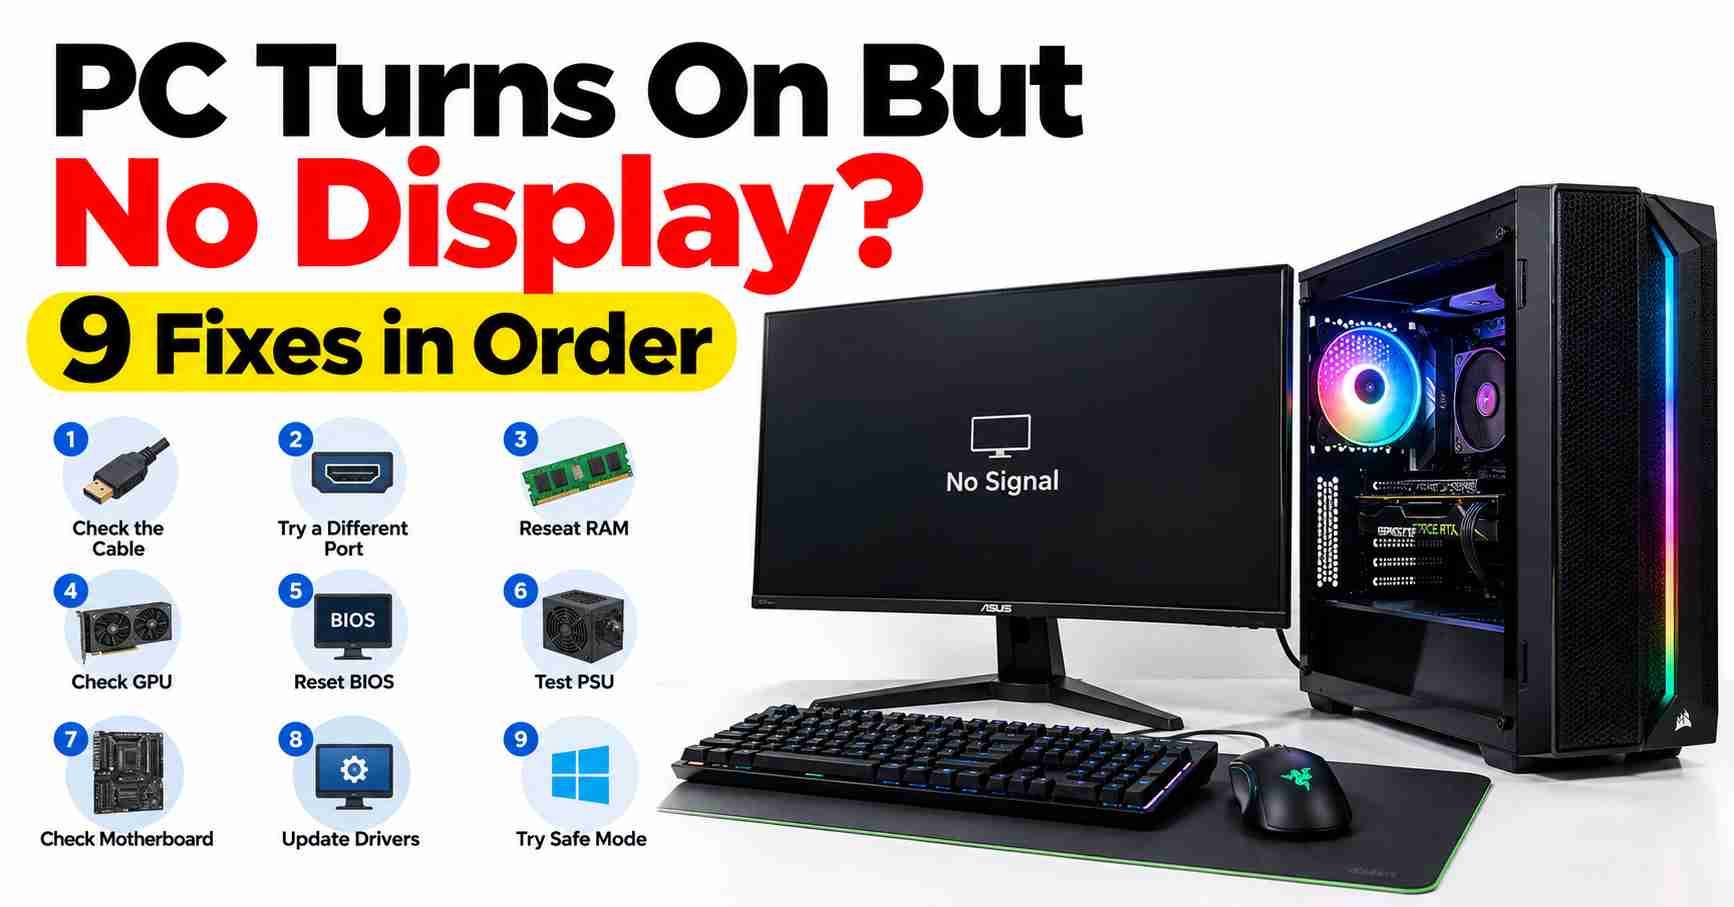
If your PC powers on, with fans spinning and lights glowing, but your monitor shows “No Signal” or stays black, the cause is usually simple: a loose video cable, the wrong port, poorly seated RAM, or first-boot memory training that hasn’t finished yet. This is one of the most common problems in new PC builds, and most people solve it without replacing a single part.
This guide walks you through 9 fixes in order, starting with the easiest. For each one, you’ll learn what the fix does, what success looks like, and when to move on to the next step. If nothing works, you’ll also learn how to use your motherboard’s debug LEDs to narrow the problem down to one specific component, so you know exactly what to test, reseat, or replace.
Quick answer
- Most likely cause: the monitor cable is plugged into the motherboard instead of the graphics card, the monitor’s input source is wrong, or the RAM isn’t fully seated.
- Wait first on DDR5 builds: first-boot memory training can take several minutes with a black screen. This is normal — don’t interrupt it.
- Fastest wins in order: check the cable and input source, move the cable to the GPU, then reseat the RAM in the correct slots.
First: Is It “No Display” or “No Power”?
This guide is for no display: fans spin, RGB or motherboard lights come on, but nothing appears on screen.
If absolutely nothing happens when you press the power button — no fans, no lights, no sounds — that’s a different problem. Check the PSU’s rear switch (set to |, not O), the power cable and wall outlet, and that the case’s front-panel power connector is on the correct motherboard pins. Once the system powers on but the screen stays black, come back here.
What “No Display” Actually Means
When you press the power button, the motherboard runs POST — the Power-On Self-Test. It checks the CPU, then the RAM, then the graphics card, and only then sends a picture to your monitor.
“No display” means POST stalled partway through, or the video signal is going to the wrong place. Windows is not involved at all — the operating system hasn’t loaded yet, so this is never a Windows problem. It’s almost always a cable, a seating issue, or a BIOS setting, and the fixes below are ordered from the easiest to the most involved.
The Most Common Causes, Ranked by Likelihood
- Monitor cable in the wrong port, or the monitor’s input source set wrong
- RAM not fully seated, or installed in the wrong slots
- DDR5 first-boot memory training (looks broken, isn’t)
- Forgotten 8-pin CPU power cable
- Graphics card not fully seated, or its power cables loose
- BIOS/CMOS settings stuck after a CPU or RAM upgrade
- A genuinely faulty part (least common with new components)
The 9 Fixes in Order
Fix 1: Wait Out DDR5 Memory Training
On DDR5 systems — Intel 12th generation and newer, and AMD AM5 — the very first boot runs memory training, where the motherboard tests the RAM timings. The screen stays black for several minutes, the fans spin, and the board may restart itself once or twice. This is normal.
What to do: do nothing. Don’t hold the power button, don’t unplug anything. Give it up to 5 minutes.
What success looks like: the motherboard splash screen or the BIOS appears on its own. If 10 minutes pass with no change and no debug LED activity, move to Fix 2.
Fix 2: Check the Monitor Cable and Input Source
A surprising number of “dead” builds are a monitor set to the wrong input.
What to do:
- Confirm the monitor itself is powered on (not just in standby).
- Open the monitor’s menu and set the input source to match the port you’re actually using — HDMI 1 vs. HDMI 2 vs. DisplayPort are separate inputs.
- Try a different cable, and a different port on the monitor if it has more than one. A certified DisplayPort or HDMI cable is a cheap way to rule out a bad cable. (As an Amazon Associate I earn from qualifying purchases.)
What success looks like: the “No Signal” message changes, or the BIOS screen appears.
Fix 3: Plug the Cable Into the GPU, Not the Motherboard
If your PC has a dedicated graphics card, the video ports on the motherboard (up near the USB ports) are usually dead — the system routes video through the GPU. Plug your cable into the graphics card’s HDMI or DisplayPort instead, down among the expansion slots.
[ADD OWN PHOTO: annotated photo showing graphics card video ports vs. motherboard video ports]
Worth knowing: this only works in reverse if your CPU has integrated graphics. Intel F-series chips (e.g., 14400F) and most desktop Ryzen chips without a “G” suffix have no integrated graphics at all — on those systems the motherboard ports will never produce a picture.
What success looks like: signal appears as soon as the cable is in the GPU’s port.
Fix 4: Reseat the RAM
Poorly seated RAM is the single most common hardware cause of a no-display new build. The stick can look inserted while one side isn’t making contact.
⚠️ Warning — before touching any part: shut the PC down, flip the PSU’s rear switch to O, unplug the power cable, then hold the case’s power button for about 5 seconds to drain residual power. Ground yourself against static by touching the bare metal of the case regularly, or wear an anti-static wrist strap. Avoid working on carpet in socks.
What to do:
- Push the retention clips at both ends of each RAM slot outward and remove the sticks.
- Check the gold contacts are clean, then reinsert each stick firmly and evenly until both clips snap shut on their own. A stick that needs its clips pushed closed by hand usually isn’t fully seated.
- Use the correct slots. For two sticks, most motherboard manuals specify the 2nd and 4th slots from the CPU (often labeled A2 and B2). For a single stick, it’s usually A2 — but this varies by board, so check your manual.
[ADD OWN PHOTO: RAM stick fully seated with both retention clips closed]
What success looks like: both clips closed by themselves, the stick doesn’t wiggle, and on the next boot the DRAM debug LED (if your board has one) goes out.
Fix 5: Reseat the Graphics Card
A heavy card can sit slightly crooked in the PCIe slot, especially if it was installed before the case was upright.
What to do (power off and unplugged, as in Fix 4):
- Remove the bracket screw holding the card to the case.
- Press the small retention latch at the end of the PCIe x16 slot and lift the card straight out.
- Reinsert it firmly and evenly until the latch clicks shut, then refit the bracket screw.
- Reconnect the 6+2-pin PCIe power cables — push until the clip engages. A half-inserted power cable is a classic cause of a lit VGA debug LED.
What success looks like: the slot latch is engaged, the card doesn’t rock, and every power connector is clicked fully home.
Fix 6: Check the CPU and GPU Power Cables
The most-forgotten cable in PC building is the 8-pin (4+4) EPS CPU power connector, usually at the top-left of the motherboard and labeled CPU_PWR. The system will not POST without it — fans may still spin, which makes this one deceptive.
What to do (power off and unplugged):
- Confirm the 8-pin CPU power cable is fully seated at the motherboard end.
- Confirm the large 24-pin ATX connector (along the board’s right edge) is pushed all the way in — it needs a firm push and an audible click.
- Confirm each GPU power cable is seated at both ends — the card and the PSU — if your power supply has modular cables.
- Check the PSU’s rear switch is on |.
If you’re unsure your PSU is big enough for your parts, our PSU sizing guide walks through the calculation.
What success looks like: every connector is clicked in with no visible gap between plug and socket.
Fix 7: Read the Debug LEDs or Beep Codes
Most modern motherboards (ASUS, MSI, Gigabyte, ASRock) have four tiny debug LEDs near the 24-pin connector, labeled CPU, DRAM, VGA, and BOOT. During POST they blink in sequence; if one stays lit, that’s where POST stopped:
- CPU lit → recheck the 8-pin CPU power cable and that the CPU is seated correctly (Fix 6).
- DRAM lit → RAM issue: reseat, try one stick, try the correct slots (Fix 4).
- VGA lit → graphics card issue: reseat the card and its power cables (Fix 5).
- BOOT lit → the board actually finished POST. If you have a picture now, the problem is a missing boot drive or OS — a different issue from this guide.
[ADD OWN PHOTO: close-up of motherboard debug LEDs with one lit]
Beep codes convey the same information through sound, but they need a tiny case speaker connected to the front-panel header — many cases don’t include one. One short beep generally means a normal POST; longer patterns vary by BIOS vendor, so check your motherboard manual for the exact meanings.
What success looks like: the LEDs cycle through and all go out, or the lit LED tells you exactly which fix to repeat.
Fix 8: Clear the CMOS
CMOS is the small memory that stores your BIOS settings. After a CPU or RAM upgrade — or a bad BIOS tweak — a stuck setting can block POST entirely. Clearing it returns the BIOS to factory defaults.
⚠️ Warning: unplug the PC and drain residual power (as in Fix 4) before doing any of these.
What to do — use whichever method your board supports (check the manual):
- CLR_CMOS button — some boards have one on the rear I/O panel. Press and hold it for a few seconds.
- Jumper pins — touch the two pins labeled CLR_CMOS or JBAT1 with a screwdriver tip for about 10 seconds.
- Remove the battery — take out the CR2032 coin-cell battery for 5 minutes, then reinsert it with the + side facing up.
Reconnect power and boot. Seeing a “CMOS settings reset — press F1 to enter setup” message is expected and means it worked.
What success looks like: the board powers on with default settings and POST completes.
Fix 9: Test With Minimal Parts Outside the Case
If nothing above worked, strip the system down to isolate the fault — either a bad part or something in the case (a misplaced standoff, a pinched cable) shorting the board.
⚠️ Warning: work on a non-conductive surface such as the motherboard’s cardboard box — never on the anti-static bag (the outside is conductive). Keep the PSU switch within reach, and don’t touch components while powered.
What to do:
- Remove the motherboard and place it on its box.
- Install only: CPU and cooler, one RAM stick in the A2 slot, the graphics card only if your CPU has no integrated graphics, the 24-pin and 8-pin power cables, and the monitor.
- To power on, briefly touch a screwdriver tip across the two front-panel pins labeled PWR_SW (or PWRBTN) — location is in your motherboard manual.
What success looks like: it POSTs on the box → something in the case was the problem (check standoffs, front-panel wiring, trapped cables). Still nothing → the fault is in one of the remaining parts; move to the narrowing-down steps below.
Still No Display? Narrow It Down to One Part
Use what the debug LEDs told you and test by substitution:
- RAM: try one stick at a time in the A2 slot, then swap in the other stick. A single bad stick is the most common individual part failure behind no-display.
- GPU: try the second PCIe x16 slot, or remove the card entirely and use the motherboard video port — but only if your CPU has integrated graphics (see Fix 3).
- PSU: a power supply can spin fans yet fail to deliver stable power under load. If you can borrow a known-good PSU, swap it in. Also confirm the wattage suits your parts with our PSU sizing guide.
- Motherboard/CPU: power off, remove the cooler and CPU, and inspect the socket pins with a flashlight — bent pins are a common result of a rushed install. Handle the CPU by its edges only; physical damage like bent pins is usually not covered by warranty.
When to contact the retailer or manufacturer: if you’ve worked through all 9 fixes and the substitution tests, you’ve done the diagnostic work a support agent would ask for. Contact the retailer first if you’re inside the return window — that’s the fastest path. After that, use the manufacturer’s RMA process. Keep your boxes and receipts, and note which debug LED was lit and which parts you tested.
Limitations and Risks
- These fixes can’t repair a part that arrived dead, straighten badly bent socket pins, or fix a monitor or cable that is itself broken — test with a known-good display if you can.
- If your CPU needs a newer BIOS than the board shipped with, no reseating will help. Many boards support USB BIOS Flashback (flashing without a CPU installed) — check your manual; the button and port are usually labeled on the rear I/O.
- Electrical safety: always unplug before touching parts. Never open the power supply itself — it holds charge long after unplugging.
- Static: ground yourself on the case before handling RAM, CPU, or GPU.
- Warranty: opening your case and reseating parts is fine. Physically damaging pins, sockets, or connectors generally is not covered — if a step needs force, stop and recheck.
- Clearing the CMOS resets BIOS settings only. It does not delete any files — your drives are untouched.
Quick Checklist
- [ ] Waited up to 5 minutes for DDR5 memory training (first boot)
- [ ] Monitor powered on, input source matches the cable’s port
- [ ] Cable plugged into the GPU, not the motherboard
- [ ] Tried a different cable and monitor port
- [ ] RAM reseated — both clips snapped shut on their own
- [ ] RAM in the correct slots (usually A2/B2 for two sticks)
- [ ] GPU reseated — slot latch clicked, bracket screwed in
- [ ] 8-pin CPU power, 24-pin ATX, and GPU power cables fully seated
- [ ] PSU rear switch on |
- [ ] Debug LEDs / beep codes read and acted on
- [ ] CMOS cleared
- [ ] Minimal parts tested outside the case
Conclusion
A PC that powers on with no display is usually fixed by one of the simple steps at the top of this troubleshooting list: reseating the video cable, switching to the correct port, or reseating the RAM. Work through the fixes in order, check for the success signal after each one, and use your motherboard’s debug LEDs when guesswork runs out.
Once your screen lights up:
- Enable your RAM’s rated speed in the BIOS (XMP on Intel, EXPO on AMD).
- Install Windows.
- Install your GPU drivers.
Planning future upgrades? Use our PSU sizing guide to check whether your power supply can handle them.
Frequently Asked Questions
How long should I wait on a first boot before worrying?
Wait up to 5 minutes on a DDR5 build. A black screen during memory training is normal, and the board may restart once or twice. If 10 minutes pass with no picture and no debug LED activity, reseat your RAM and check your power cables.
Should I plug my monitor into the GPU or the motherboard?
Plug it into the GPU if you have a dedicated graphics card installed. Motherboard video ports are usually disabled when a GPU is present, and they never work on CPUs without integrated graphics, such as Intel F-series and most non-G Ryzen chips.
Will clearing the CMOS delete my files?
No. Clearing the CMOS only resets BIOS settings to factory defaults. Your files stay safely on your drives.
What does it mean when the VGA debug LED stays lit?
It means the motherboard can’t detect or initialize your graphics card. Reseat the GPU until the PCIe latch clicks, then push each 6+2-pin power cable in until its clip engages. If your CPU has integrated graphics, remove the GPU and try the motherboard video port to isolate the card.
My PC worked yesterday and now there’s no display. What should I check?
Start with whatever changed last. Reseat the RAM and GPU, recheck every power cable, and read the debug LEDs. If nothing changed, a failing power supply or a loose cable is the most common cause.
